
Witajcie, wprawdzie mamy sezon komunijny i w naszych pracowniach powstaje mnóstwo projektów na tą okazję. Nie zapominajmy jednak, że poza komuniami odbywa się również wiele innych ważnych uroczystości takich jak np chrzest. I to właśnie na taką uroczystość przygotowałam dzisiejszą inspirację. Moja kartka nie jest typową z religijnymi motywami, owszem znalazły się na niej anielskie skrzydła, jednak tym razem w postać aniołka wcielił się uroczy miś :)
Hello, it is true that we have a communion season and there are a lot of projects for this occasion in our studios. Let's not forget, however, that apart from communions, there are also many other important celebrations, such as baptism. And it is precisely for such a celebration that I have prepared today's inspiration. My card is not typical with religious motifs, yes, there are angel wings on it, but this time a cute teddy bear played the role of an angel :)


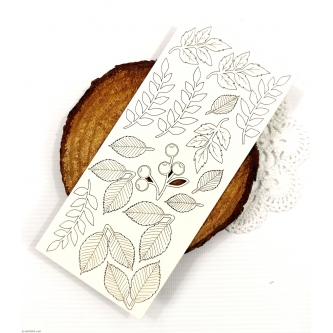
W tym momencie baza kartki jest gotowa. Można by jedynie dodać napis i była by urocza kartka do koperty. Wiecie jednak, że jestem zwolenniczką bogatych, dużych kompozycji, dlatego też puściłam lekko wodze fantazji. Po dwóch stronach kartki wykonałam dwie kompozycje kwiatowe. Użyłam tu ręcznie zrobionych kwiatów z foamiranu. Większy umieściłam po lewej, mniejszy po prawej stronie, jednak nieco wyżej niż poprzedni. Kwiaty były moimi wyznacznikami układu dalszych elementów.
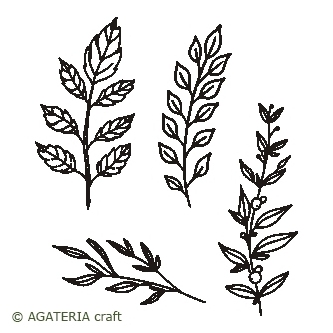
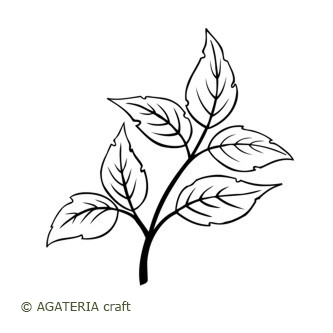
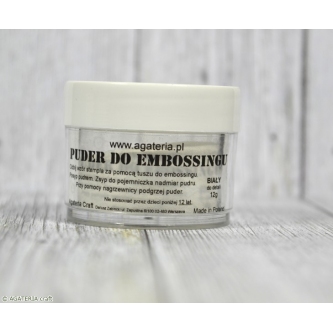
Jak już wcześniej pisałam użyłam tekturek w naturalnym kolorze, które idealnie wpisały się w klimat projektu. Wykorzystałam listki i gałązki z jagódkami z zestawu. Następnie dodałam kilka elementów kwiatowych wyciętych z kolekcji, całość uzupełniłam embossowanymi na kalce listakmi w kolorze białym. Dodały one odrobinę elegancji, lekkości i rozjaśniły całość.
At this point, the base of the card is ready. All you could do is add an inscription and it would be a cute card for the envelope. However, you know that I am a supporter of rich, large compositions, which is why I let my imagination run wild. I made two flower arrangements on both sides of the card. I used hand-made foamiran flowers here. I placed the larger one on the left, the smaller one on the right, but slightly higher than the previous one. Flowers were my determinants of the arrangement of further elements.
As I wrote earlier, I used cardboard in a natural color, which perfectly matched the atmosphere of the project. I used the leaves and twigs with blueberries from the set. Then I added a few floral elements cut from the collection, and complemented the whole with white leaves embossed on tracing paper. They added a touch of elegance, lightness and brightened up the whole.


Na koniec pozostało jedynie dodać pasujący napis. Ja użyłam gotowego napisu. Dokleiłam go tak aby mocno odstawał od kartki, dzięki temu kartka wydaje się jeszcze bardziej przestrzenna.
At the end, the only thing left to do is add the matching string. I used a ready-made text. I glued it so that it stands out from the page, thanks to which the page seems even more spacious.


Użyte materiały


Brak komentarzy:
Prześlij komentarz